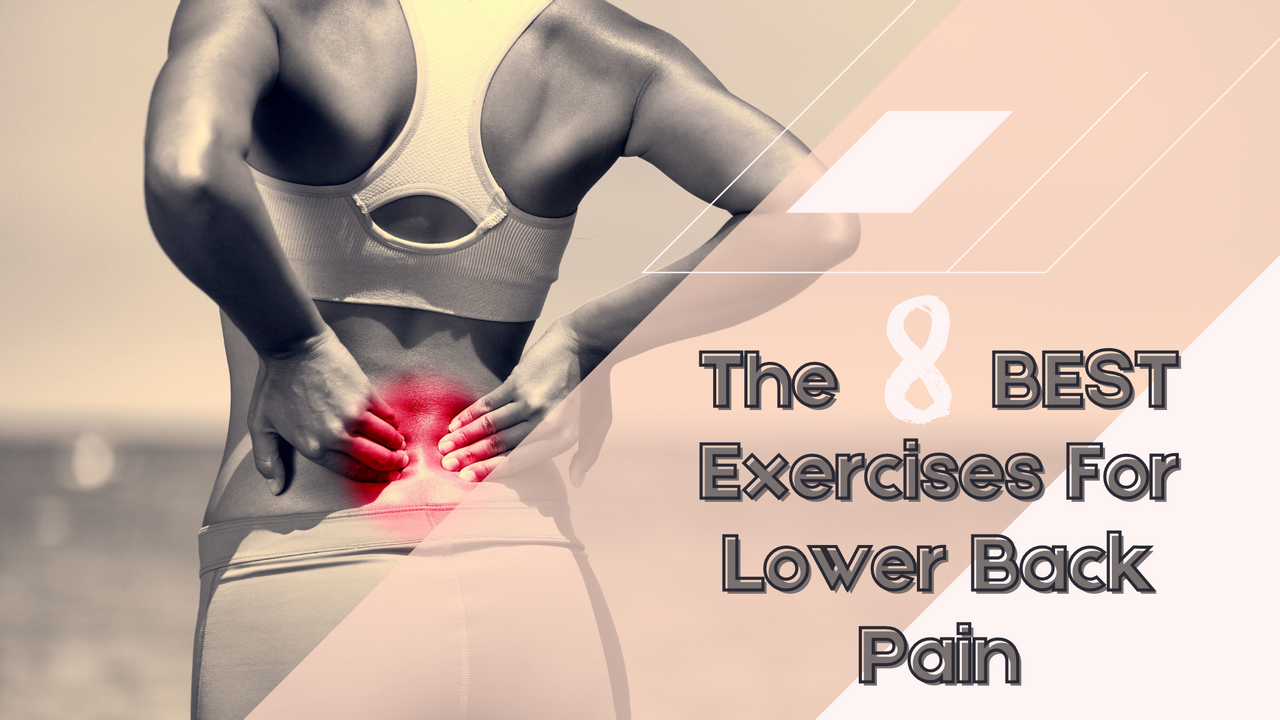
No surprise why I have chosen this topic to write about, as 90% of my clients suffer from lower back pain, so I thought this blog could be helpful to those who are in the same boat!
Lower back pain can occur for several different reasons. Some common reasons are:
- result of an accident, like a fall
- lifting with the wrong technique, or lifting too heavy or both
- sudden overtraining after a long time of being sedentary
- muscle imbalance
- sprain
For more details about the type of lower back pains and causes please visit THIS reliable page:
How to Treat it!
Of course, the treatment has to be specific to individuals, whether that is only exercise or a more serious one. First you have to address the underlying issue behind your pain. Assess your lifestyle, your exercise technique and ask the opinion of a professional.
A sedentary lifestyle is one of the big causes of our lower back pain. Also, the wrong exercise technique and lifting too heavy with a bad form can cause lower back pain on a long-term basis.
However, if you are already experiencing lower back pain, some exercises and stretches are more beneficial to do than others. Let me show you a few of the most effective exercises for lower back pain and some stretching that you can complete at home or anywhere.
1.Bridge abduction with mini band

1. Lie-down on your back with arms stretched by your side and palms facing down. Keep the knees bent with the feet around hip width apart! This will be your starting position.
2 – 3. While keeping the core tight raise your hip up -off the ground
4. Push the knees apart and hold for 3 seconds and return back to position 3 in 3 seconds, then to the starting position. While pushing your knees apart try to avoid your feet rotating out
Complete this for 15 reps 2-3 sets.
2. Donkey Kicks with reach

You can do this exercise with the band or without.
1. Start with the knees in line with your hips and the palms inline with your shoulder.
2. Kick one leg back. The leg need to be parallel to the ground, glute engaged.
3. Reach with the leg that you kicked out to the opposite direction as far as you can, without rotating your full torso into the movement. You should feel a nice stretch on your lower back while doing this movement. If you are doing it with a band, you will feel the glutes and the lower back working too. Bands are great for stabilizing, as they hit smaller muscle groups like the gluteus minimus, that stabilize the hip.
4. Return back to the straight leg position then lower the leg back down to no1.
3. Side Plank clamshell

This exercise works the gluteus Medius that helps stabilizing the pelvis and hips. While the side plank position works to obliques (side of our core) muscle. This muscle helps contracting the abdomen and also responsible for the movement of the trunk the spine and the core. So this actually supports our spine when rotating or bending side ways. This is why It can help you with pain relif.
You can do this exercise with or without the band and also in a low or high plank position. This means you either on your elbow or on your palm.
1. Start with both knees bent lying on your side. Your elbow in line with your shoulder. Keep your body straight.
2. Lift your hip off the ground and start performing the clamshell movement by pushing the knees apart! Complete it for 2-3 sets of 12 reps. You will need to keep your hip off the ground throughout the 12 reps to work your oblique.
4. Half Pigeon

This pose stretches the hip rotators and hip flexors, as well as the glutes.
1. Align your front leg knee in line with the same side hip . So if you start with the right side, the right knee in line with the right side hip. Keep the back leg straight with shin on the ground and the foot flexed. Keep your arms around shoulder width apart for support.
2. Walk your hands forward and try to lower your forehead to the mat
Hold each side for 1 minute. Recommended static stretch after workout.
5. Knee to Chest

1.Lie on your back. Bring one knee into your hands and gently let your arms pull your knee toward your chest.
2. Repeat on the other side
3. As a 3rd extra I thought I show you that this can be done with both knees as well 🙂
6. Superman

This exercise too can be completed with or without the band.
1. Start Laying on your tummy with both elbows bent to 90 degrees.
2. Lift your torso and legs off the ground, engage the glutes and take a deep breath in with this movement.
3. Reach out front of your head with both arms, while maintaining your body’s position from no2
Repeat each move the way back and return to the starting position.
7. Seated Glute stretch
 Sit on the floor with your legs straight out in front of you and your hands on either side of your hips. Bend your right knee and bring it toward your chest and place your right foot outside of your left thigh. Rotate your torso to the right, looking over your right shoulder. Hold for at least 1 minute each side!
8. Child’s Pose

This stretch eases lower back pain and stretches the hips and thighs.
Start in a kneeling position with your knees hip width apart. Thank lower your torso closer to the ground in between the knees and sit back while keeping your feet flexed too. Hold the position for 30 seconds to a minute!
IT HELPS!
This little routine is part of my injury prevention work I do if needed every day! It makes a huge difference to reduce the risk of injury while I train and also when I am more static during the day!
Hope this will be as helpful for you as it is for me!
LOVE,
Alexandra